
So you have had enough of dealing with hard water-related headaches around your home and you are now staring at a few boxes in front of you that contain your new water softening system.
That’s great except for just one problem.
You have to install it to reap the benefits from it.
Being the do-it-yourselfer that you are, you have decided that you want to do this job yourself.
This is a reasonable thought. With some of the plumbing and other skills I learned in my many years in the pool and spa industry, I have helped friends install these hard water-eliminating devices. I did not feel installing them was a difficult process.
With that being said, there are some tricky areas that you have to pay close attention to when installing a water softener. So, follow along with this article as I guide you through the basics of how to install a water softener.
Table of Contents
What to Know Before Installing a Water Softener?
You certainly don’t have to be a master plumber to install a water softener yourself but there are a few basic things that you should be familiar with to undertake a successful DIY water softener installation project.
The most important of which is having an understanding of how a water softener works. This also includes knowing how water comes into your home and is then distributed throughout it to water fixtures and spigots (called a water loop).
You should also feel confident when it comes to soldering copper and metal pipe fittings. If you feel you have got these points covered, then I don’t see any reason why you shouldn’t be able to handle this task.
A Note About Water Loops
Once the water line enters your home, that incoming water line will likely then branch out to supply the various sinks, tubs, washer connections, showers, and spigots around your home with water. Usually, this is done using what is known as a water loop.
The best-case scenario here is your home has a water loop that feeds your outside water spigots and your inside home water fixtures separately. That’s because there is no need to feed softened water to your outside water supply. That is a waste of your water softening resources.
You also don’t want to water your lawn with salt-laden softened water and it may not be the best option for washing your car either.
So if you do not have a water loop that separates your outside and inside water supply, then you should strongly consider creating a water loop that does this or have it professionally done for you.
How to Install a Water Softener
Here is an overview of the most common steps involved in a water softener installation:
1. Make a Plan/ Figure Out Where to Locate Your Water Softener

They say “planning makes perfect” and it’s no different when it comes to installing a water softener.
That’s because until you have decided exactly where your water softener is going and establish your plan for the installation, it’s hard for the rest of the steps to fall smoothly into place.
So first, you will have to locate an area in your basement or garage where your water softener system will fit. Preferably near an area that has an electrical outlet and not too far from your home’s water loop.
If you don’t have an electrical outlet nearby where your water softener is going, you will need to have an outlet installed to run its control system.
Deciding on your water softener’s location first will also help you determine how much plumbing supplies you need to purchase to connect the water softener into your home’s water loop and to plumb in its wastewater line.
Once you have established a well-thought-out installation plan, the rest of the steps in the DIY water softener installation process should proceed along much smoother.
2. Get the Correct Tools and Installation Materials Ready
It will make your water installation easier if you have access to the following tools and installation materials:
Tools:
- Channel-lock pliers
- Open-end wrench set
- Hack or pipe saw
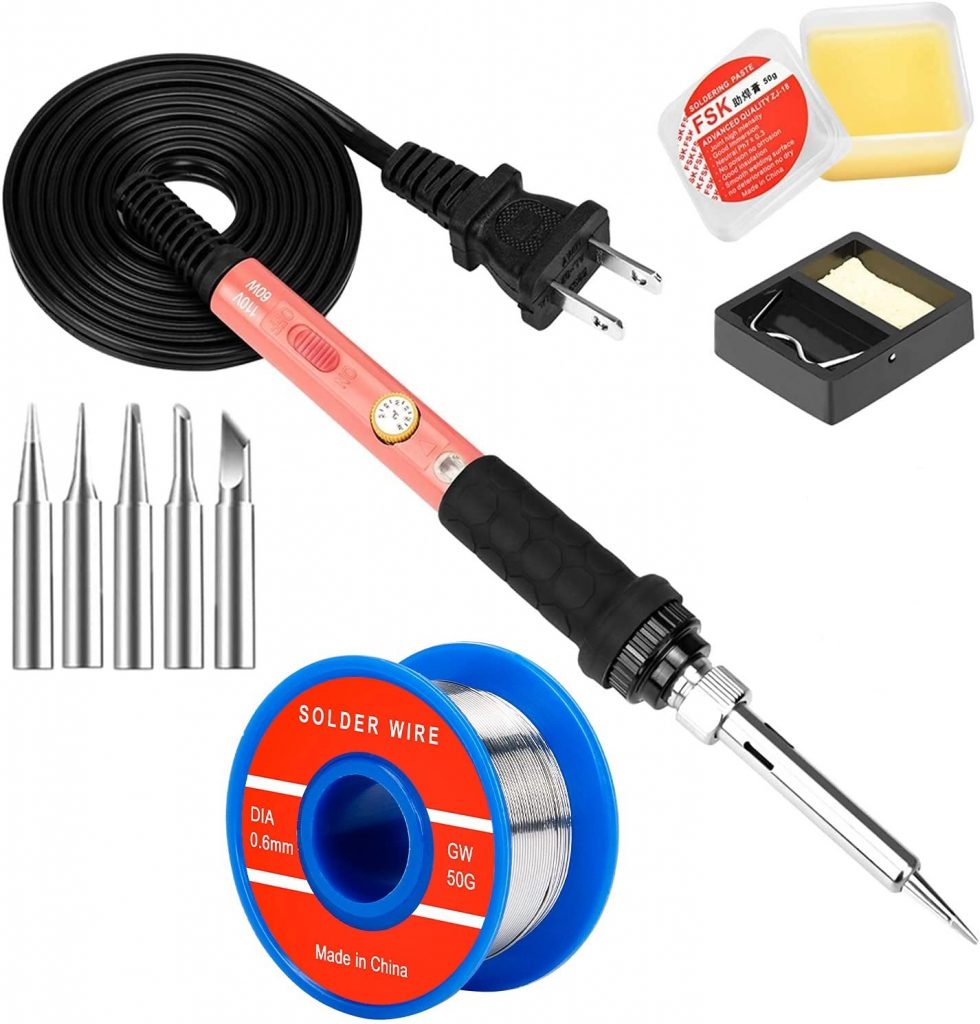
- Soldering iron
- Screwdriver
Materials:
- ½” PVC and copper pipe
- Plumbing pipe fittings
- Flexible supply tubes
- Solder and flux
- Teflon tape
- ½” diameter flexible drain tubing
- ½” Pipe clamps
- Flexible supply tubing
Keep in mind that all of these tools and materials may not be necessary for every water softener installation. Some connections may also require different pipe sizes.
At this point, you should also be well-aware of the location of your nearest hardware store or home improvement center.
That’s because if you are new to installing water softeners, then chances are you will be making a couple of trips to one of these during your DIY water softener installation process.
3. Turn Your Water Heater’s Electricity Off
Having your water heater tank’s heating element run dry is a recipe for disaster. This is something that may happen when you shut off the incoming water main. That’s why you want to turn off the breaker that controls your electric water heater before you shut your incoming water supply down.
4. Shut Your Water Main Off
You certainly don’t want to be working with water lines under pressure while installing a water softener. This means you will have to shut off the water supply that comes into your home. There may be a valve for doing this near where the incoming water line comes into your home.
If that’s not the case, then you will have to locate and shut off the outside water main line which is usually located in a hard plastic box embedded in your lawn somewhere. You should know the whereabouts of this box anyway in case you have a bad leak that necessitates your household water supply being quickly turned off.
5. Attach the Bypass Valve, Control Head, And Water Softener Tubing
By now you should have your water softener in position on a smooth and level surface. This is a good time to attach the unit’s bypass valve and the connecting tubing between the two tanks. There should be diagrams for these operations in your supplied installation manual. You can also attach your water softener’s control head if it does not come pre-installed.
6. Splice into the Incoming Water Loop
Once you have double-checked that your incoming water supply is shut off, it’s ok to go ahead and splice your water softener into your home’s inside water loop. To do this, you will use your hacksaw to cut out about a 6” section of the previously mentioned water loop that’s the closest to your water softener.
You will then attach the ½” diameter flexible drain tubing to the supply-side cut in the water loop to the incoming connection on your water softener. Another piece of this same flexible tubing will go from the water softener exit connection to the feed side of the spliced inside water loop. It should be readily apparent if you need to use clamps or solder to make these connections.
7. Configure the Water Softener’s Drain Hose and Brine Tank
One of the most important parts of a water softener’s operation is its regeneration cycle. This helps keep the system clean and functioning properly. Unfortunately, it’s a process that includes backwashing wastewater out of the system. That’s why your next step is to connect the ½” diameter flexible drain tubing from the drain connection on the resin tank to an appropriate size floor drain.
Some people do choose to make their water softener drain line out of more durable PVC pipe. This is perfectly ok.
8. Connect Softener Overflow Tube to the Brine Tank
Your softener system’s brine tank will also have a connection near the top of it that you will need to hook up an overflow tube to it. Most likely this will be supplied with the system. If not, it’s easy to fabricate one.
9. Switch Bypass Valve to Active and Reopen Your Home Water Supply
The last step of the process before filling your brine tank with salt and testing your new water softener to make sure it’s working properly is to place the water softener bypass valve in a position where it feeds water into the softener.
Make sure you turn your main water line feed back to its normally open position too. Also, turn your water heater back on after this has been done. You will need to plug your water softener’s power cord into the outlet too.
Additional notes:
If you think visuals will give you a better idea of how to install a water softener, then check out this YouTube video.
Also, keep in mind this water softener installation guide is just an overview of what normally happens during a typical water softener installation.
I highly recommend that you thoroughly read through the installation instructions that the manufacturer of your brand of water softener included with your system and refer back to them often during your DIY water softener installation effort.
Common Water Softener Installation Mistakes to Look Out For
Here are some of the most common mistakes DIY water softener installers make:
- Purchasing a water softener that is not properly sized for your home’s soft water supply needs.
- Not making sure that your water softener-related valves are in the proper open or closed position before the system startup.
- Putting the brine and resin tanks of your water softening system on a bumpy unlevel surface.
- Installing your water softener into your home’s water loop where it sends softened water where it’s not needed or can be harmful
- Not testing the entire system for leaks and ensuring the drain line is working properly before letting your water softener run without you in the room.
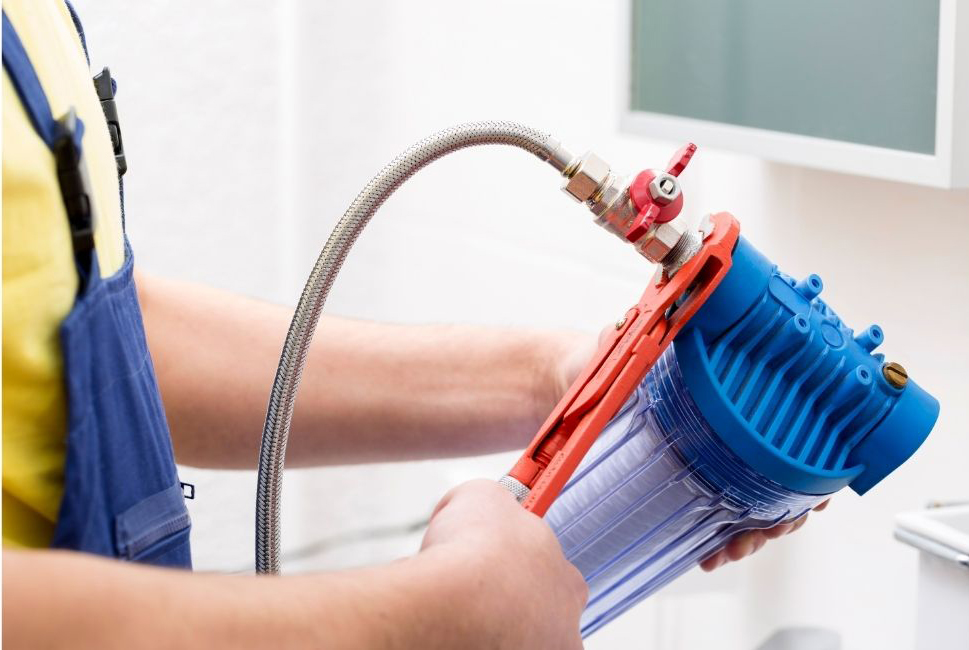
- Installing your water softener before an additional whole-house water filtration device on your incoming water line. It needs to go after it.
Is It Ok to DIY Or Should You Call a Professional?
This is something that should be very apparent to you at this point in the article. You already know all of the steps that it takes to install a water softener and have it work properly.
If you felt apprehensive, confused, or even skeptical at times as you were reading through the many steps discussed in this process, then you might want to reconsider your DIY installation choice.
It’s probably better to err on the side of caution and call a plumber or seek out a family member or friend that has done this type of work before for assistance.
Then again, if while you were reading about these required steps in the water softener installation process and none of it phased or confused you, there is probably no good reason why you shouldn’t try to install your new water softener yourself.
Even if you are convinced you can do your new water softener installation yourself. I would urge you to strongly consider hiring out two specific parts of this task.
That’s calling an electrician to put in an outlet near where your water softener goes (if one is not in place already) and having the soldered tie-ins to the water loop professionally done if you are not skilled with a soldering iron.
Also, if you start doing your water softener installation yourself and it proves too difficult, there is no shame in taking a step back and hiring a professional to complete the project for you.
My Final Thoughts on DIY Water Softener Installations
Whether you choose to do your water softener installation yourself or hire someone to do it for you is not important.
What’s important is no longer having to deal with difficult to remove limescale deposits on bathroom and kitchen fixtures, having to frequently replace water heater elements, having your showerheads repeatedly clog up, or having to put up with other hard water-related issues.
The biggest step that you had to take in this whole process has already been done and that’s deciding that the purchase of a water softener was a good choice for you.

