
How to Filter Contaminated
Water for Drinking Guide
If an emergency occurs – like water pipes breaking or during a flood or hurricane – water service interruption or contamination might occur. If that’s your situation, the recommendation is to use boiled, bottled, or disinfected water. If you don’t have the means to filter or disinfect your water, your safest option is to use commercially bottled water.
You might also run into a circumstance where you’re away from home and need clean drinking water. For example, you might run out of water when remote camping or get lost in the wilderness without access to clean water. Having clean water is crucial to your health and, if you’re away from home, your survival.
If fuel or toxic chemicals contaminate water, it isn’t possible to make it safe for bathing or consumption by boiling or disinfecting. If you know or suspect the water might have fuel or toxic chemical contaminants, look for a different water source, like bottled water, for example.

Where To Get Water in Emergencies
If flooding occurs in your community, that water can contaminate lakes, rivers, streams, and wells. Chemicals, human sewage, and livestock waste are examples of some of the contaminants. If you use contaminated water for drinking, bathing, or other hygiene, that could lead to illness.
Because your water might have contaminants in it, finding clean water during an emergency is critical. There are several possible sources of safe water that you can treat including:
- Condensation from trees
- Lakes and ponds
- Natural springs
- Rainwater, or water from other precipitation including sleet and snow
- Rivers, streams, or other bodies of water
Ideally, you’re looking for a water source that is as clear as possible and doesn’t have pollutants leaching into it.
Why Water Purification is Necessary
Purifying water is critical during an emergency to ensure bacteria and other microorganisms aren’t present. That way, the water you’re bathing with, or drinking won’t make you sick. Depending on how polluted the water is that you need to purify, you may need to remove debris or particles before disinfecting.
There are several pathogens in water that can make you sick. Examples of contaminants you can find in water include:

Biological
You might see these contaminants as microbes or microbiological. Examples include bacteria, parasites, protozoans, and viruses.

Chemical
These are compounds or elements that are either human-made or naturally occurring. Examples include bleach, metals, nitrogen, pesticides, salt, and toxins that bacteria produce.

Physical
The contaminants impact the water’s physical appearance or properties. Examples include when soil erosion causes organic material to suspend in lakes, rivers, and streams.

Radiological
These are chemical elements with unstable atoms due to an unbalanced number of protons and neutrons. Examples include uranium, cesium, and plutonium.
We need water to survive. Making sure you’re disinfecting, filtering, and purifying water the right way starts with understanding its contaminants. Once you know what you’re dealing with, you can move on to which filtration and purification methods are optimal.
Filtration and Purification Options
During an emergency, the biggest priority you’ll have is finding and disinfecting enough water to supply your needs. No matter if it’s a crisis unfolding or if you get lost in the middle of nowhere, the human body can’t last longer than three days without water. In this section, you’ll find detailed information regarding the various filtration and purification options.
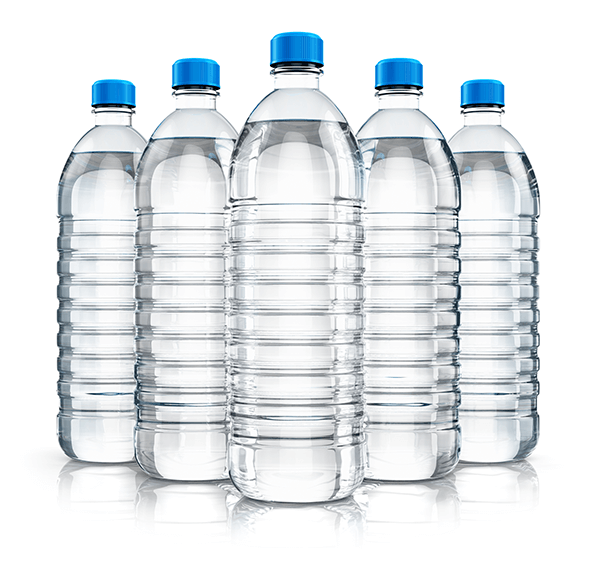
Using Bottled Water (If Available)
If you can access enough bottled water or water that you’ve prepared and stored, then those are ideal options if the water has chemical or toxic contaminants. Commercially bottled water is the safest drinking water during an emergency. However, you might not always have access to bottled water.
See our article where we review bottled water vs filtered water differences.
You can make your water safe by preparing and storing it ahead of time. Be sure you’re reserving at least one gallon of water per person in your household. Then, make sure that there’s enough water for at least three days. If you have the room, it’s optimal to store at least two weeks’ worth of bottled water.

So, if you’re a family of four, store at least 12 gallons of water for a three-day supply. If you want storage for up to two weeks, you’ll need 56 gallons of water for your family of four. If you don’t buy bottles of water, you’ll need to replace the water you prepare and store at least once every six months.
Make sure you’re storing water in food-grade storage containers. That way, no toxic chemicals transfer into your water while it’s in storage. You can find these storage containers at camping supply stores or a surplus store. If you don’t have access to food-grade containers, be sure to bottle water in containers that can close tightly.
Steps for bottling water:
- Wash and rinse the storage container thoroughly.
- Mix one-eighth of a teaspoon of unscented liquid chlorine bleach with a gallon of water.
- Cover the container and shake it vigorously to ensure the bleach touches all areas inside the container.
- Wait for 30 seconds, and then pour the sanitizing solution out.
- Before using the container, let it air dry.
- Pour treated water into the container and close it tightly.
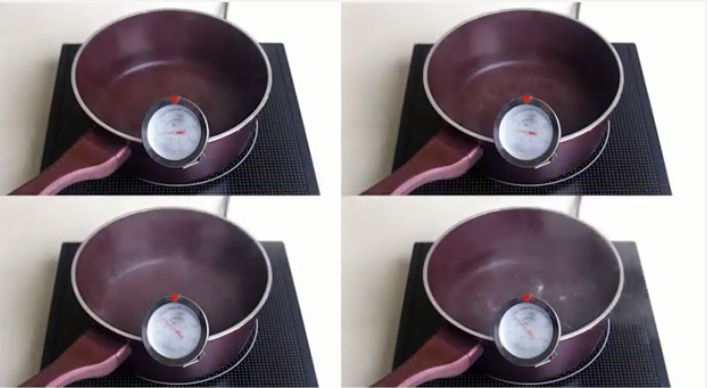
Boiling Water
The best way to kill bacteria, pathogens, and parasites is by boiling water. Even though boiling water won’t evaporate all chemicals, it’s still one of the safest ways of disinfecting. For example, if you boil water for at least five minutes, that can kill most organisms. However, boiling for up to 10 minutes is going to make your water safer.
You can boil water over a campfire or stove. Use a ceramic, glass, or metal container. If you don’t have access to a fireproof container, then heat rocks for at least 30 minutes in a fire. Then, place them directly into your container of water. You can make water containers out of rock depressions, burning bowls out of wood, or folding bark.
Avoid using river rocks or quartz to heat up and disinfect water. These rocks can explode when they have too much heat exposure.
Steps for boiling water that’s cloudy include:
- Let the water settle if it looks cloudy. Filter the water through a clean cloth, coffee filter, or paper towel.
- Allow the water to come to a rolling boil for at least one minute. Then, continue boiling for between five and 10 minutes.
- The water should cool naturally before storing and covering in clean containers.
- If the water tastes flat, add one pinch of salt for every liter or quart. You can also improve the taste by pouring it from one clean container to another one several times.
If you’re boiling water that’s clear, here are the steps:
- Let the contaminated water come to a rolling boil for at least one minute. If you’re at an elevation that’s over 6,500 feet, then let the water boil for at least three minutes.
- Allow the treated water to cool to room temperature.
- Use clean and sanitized containers that have tight covers to store the boiled water.

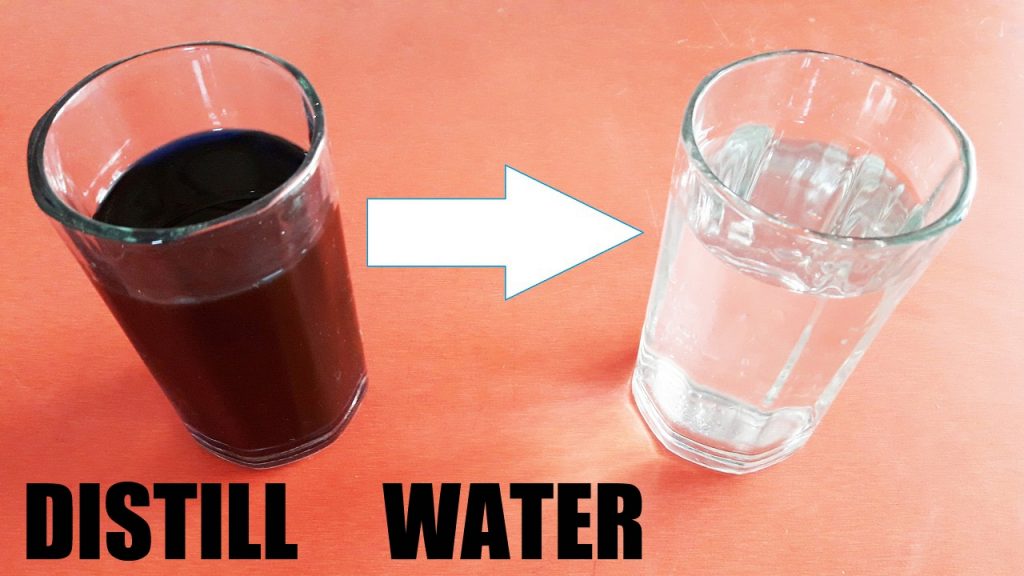
Distillation
Heavy metals, lead, salt, radiation, and several other contaminants could taint water supplies during and after an emergency. Trying to filter these contaminants out could ruin your filtration system. However, you don’t have many options when the only water you have available is dangerous.
In this scenario, distillation is the safest method for ensuring that water is safe for consumption. Keep in mind that distillation can’t remove all contaminants, like certain organic compounds or volatile oils. However, you can remove many heavy particles. How you’re going to approach distillation depends on if you’re at home or in the field.
Steps for distilling water at home:
- Make a steam distiller using some small diameter copper tubing and a pressure canner.
- Affix the copper tubing to the canner’s steam vent on the lid.
- Capture the steam in a clean container and use this condensation as drinking water.

Steps for distilling water in the field:
- Dig a hole three feet deep in a sunny location and the dampest soil possible.
- Place a plastic container at the bottom of the hole.
- Run a drinking tube from the container to the outside of the hole.
- Cover the hole with a square piece of clear or milky plastic over the hole.
- Place dirt around the plastic’s edge at the rim to create a seal.
- Put a rock onto the plastic to create a 45-degree cone over the container in the hole.
Disinfection
If it isn’t possible to boil water, you can disinfect it using unscented chlorine bleach. Make sure you’re using bleach, whereby the label indicates it’s suitable for sanitizing and disinfecting. The product’s labeling might also indicate if its active ingredient contains either six or 8.25% sodium hypochlorite.
It’s never a good idea to use scented or color-safe bleach or bleach that contains other cleaners for disinfecting water. If the water appears cloudy, allow it to settle before filtering it through a clean cloth, coffee filter, or paper towel.
Steps for disinfecting using household bleach:
- Find a medicine dropper in your emergency kit or medicine cabinet and clean it out.
- Use household bleach that’s been stored at room temperature for less than one year.
- Depending on if the bleach is six or 8.25%, you’ll need to adjust how many drops to add per gallon of water. For example, you’ll need eight drops of 6% per gallon or six drops of 8.25% per gallon.
- Stir the bleach and water together and then leave it alone for at least 30 minutes. You should detect a subtle chlorine odor. If you’re unable to detect the odor, repeat the drops and let it stand for 15 minutes longer.
- Because the chlorine taste might be too strong, you may need to pour the water from one clean container to another one many times. Then, let it sit for several hours before consumption.

If you would prefer not to use household chlorine bleach, water purification tablets are available. They’re a convenient and cost-effective way of disinfecting water polluted with chemicals. These tablets allow you to treat quarts, gallons, or large containers depending on if it’s for family or personal use.
Steps for using water purification tablets:
- Pre-treat the water by filtering out debris and other particles through a clean cloth, coffee filter, or paper towel.
- The product’s package instructions indicate how many tablets you must add to the water for the quantity of water you’re purifying.
- Stir the water containing the tablets until they dissolve. Once complete, cover the water container tightly.
- Let the treated water sit for up to 30 minutes or the allotted time indicated on the package’s instructions.
These tablets contain chlorine, chlorine dioxide, iodine, or other disinfecting agents. You can find them at pharmacies, sporting goods stores, and online.

Filtration with Filter
Filtering water using a water filtration system helps remove microorganisms and particles from drinking water. Contaminants trap inside the layers of filter material. These filtration systems are useful for eliminating some bacteria and parasites. However, they cannot remove viruses.
One thing that you must understand about using filtration systems is that they don’t remove cryptosporidium. However, if you’re using a reverse osmosis system containing filter pore sizes of one micron or less, then it’s possible to do so.
These products use activated carbon or charcoal, ceramic, or other materials to filter the water. If you choose ceramic filtration, then they’ll remove particles. These systems also include silver, which helps purify the water. You can also make a water filtration system if you don’t have access to one to purchase.
Steps for making a water filtration system:
- You’ll need to gather materials such as a plastic bottle, a separate container, clean cheesecloth or cotton, clean cloth or coffee filter, charcoal, coarse and fine sand, and gravel or pebbles.
- Start by cutting off the bottom of the plastic bottle with scissors or a utility knife.
- Use your scissors or utility knife to poke a hole into the bottle’s cap.
- Stuff the coffee filter, cheesecloth, cotton, or clean cloth into the bottle. If you don’t have access to these filtration materials, use at least three inches of grass clippings and top it with another three to four inches of fine sand.
- Use a hammer to break up charcoal. Avoid using instant lighting charcoal because it’s soaked with chemicals.
- Add approximately three inches of broken up charcoal over the coffee filter, cloth, or cotton. Put another coffee filter or a small piece of material over the charcoal.
- Locate the finest sand you can find and add between two and three inches as the next layer. Avoid using sand from the highway department because it contains chemicals and salt.
- Add between two and three inches of coarse sand or tiny pebbles over the fine sand.
- Add two to three inches of the finest sand possible on top of the coarse layer.
- Top the sand with a two to three-inch layer of gravel or small rocks. That way, the water you’re pouring into the container doesn’t displace the sand.
- Cover the top of this homemade water filtration system with a piece of porous cloth. A bandana or cheesecloth works well as a cover.
- Carefully pour water into the filtration system and collect it in the second container.
Portable filters are also an excellent option for filtering contaminated water. Selecting which one is the best is an arduous process if you’re unsure what to look for in a portable system. For example, make sure the system works with your current water supply, removes contaminants, and produces safe drinking water. For example, if you need to filter stagnant pond water, the portable filtration system must accommodate that need.
Another consideration you must make is if the portable system is the right size and weight for your situation. For example, if you’re backpacking, then a carafe isn’t an ideal option. However, you might benefit from a filtration straw or cup if it’s for individual use. No matter which type of portable system you choose, it must be easy to use. For example, some water filters might be a bit too complicated for beginners and could result in contaminated water.
Steps for purifying water with a portable system:
- Start by clarifying the water. That means you’re making sure there isn’t any floating debris or particles in it and that it’s clear. You can accomplish this step by pouring the water through a clean cloth.
- The next step is to disinfect the water. During this process, you’re killing microbes that cannot be removed by the portable water filtration system.
- Physically remove contaminants using a water filtration screen. Because some water filters can’t remove tiny viruses, this step is critical.
- Run the water through your portable water purification device to remove any remaining contaminants and improve its taste.

UV Light Devices
It’s possible to damage small organisms using UV light. It’s surprisingly effective if you use it as a disinfection method. There are hand-cranked water purification devices on the market that take mere seconds to disrupt dangerous microbes’ DNA. You can also find them as battery-powered devices that are equally as effective.
This method of water purification uses unique lamps that emit specific UV light wavelengths. Water passing through these systems causes living organisms to have UV light exposure. Because the light is attacking the DNA of the microorganism, it prevents those microbes from reproducing.
Remember that this method is less effective if the water is cloudy. The main reason is that, if small particles are present, they might prevent light from getting to germs in the water. However, if the water is clear and you’re unsure if it’s safe for consumption or not, these devices work well.
Steps for using a UV light filter:
- Make sure you replace the UV lamp at least once annually. If an alarm sounds, that means the UV lamp is no longer able to disinfect the water.
- Avoid turning the system on and off; otherwise, that shortens the life of the lamp. Plus, you might forget to turn it back on and risk exposure to contaminated water.
- Keep the quartz sleeve clean surrounding the lamp. You can do this each time you change the lamp to make sure it’s working effectively.
- At least once every two years, make sure you replace the quartz sleeve. They’re fragile, so be sure to keep an extra one on-hand.

Solar Water Disinfection
Solar water disinfection or SODIS involves using the sun’s energy to disinfect water. Many who use the SODIS method expose bottles of contaminated water to sunlight for at least one day. That way, the UV rays in sunlight can damage or kill biological contaminants in the water. This method is popular because it’s quick, easy to do, and cost-effective or free.
There are issues with this method that you must keep in mind. For example, you must have sunny weather for a full day. Or you can use this method if there are at least two consecutive days of overcast skies.
It isn’t possible to use this method if it’s raining or in bottles larger than two liters. SODIS might also be less effective against the cyst and bacterial spore stages of many parasites. Avoid using glass bottles and, after purification is complete, the water might be cloudy. You also can’t filter out or disinfect for chemical contamination.
Steps for Solar Water Disinfection:
- Rinse the water bottle out to make sure there isn’t any debris or sediment inside.
- Start by filling a bottle that’s two liters or smaller with water.
- Leave the bottle of water in direct sunlight for at least 24 hours. If it’s cloudy, then leave the bottle exposed for at least 48 hours.
- After the time elapses, use the same bottle that you disinfected the water in to drink from.

Conclusion
Thank you for reading through this water filtration guide, and I hope you enjoyed the information here. Having clean water is my number one priority, even when there isn’t an emergency. Because we need water for our survival, filtering contaminated water for drinking should also be your priority. Please share your thoughts about this guide in the comments and, if you like it, share it with your followers.

